Gallery

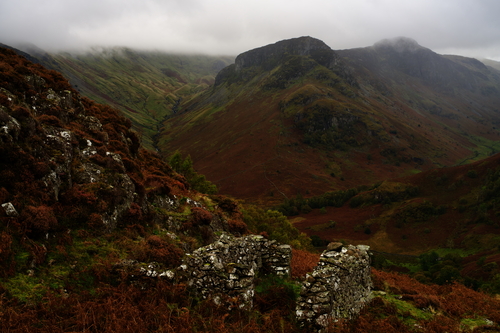
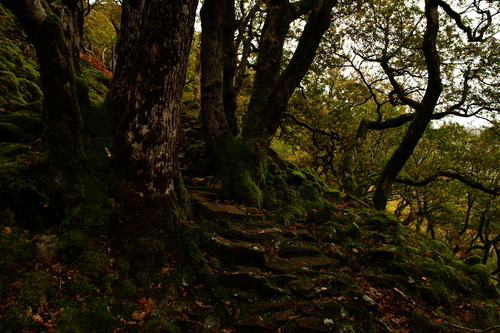
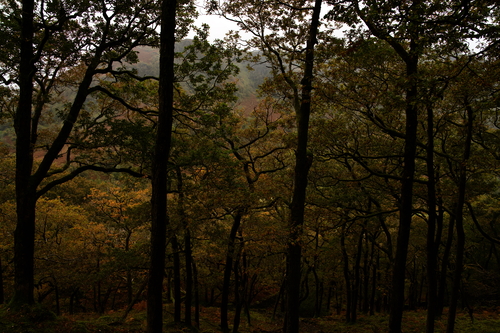
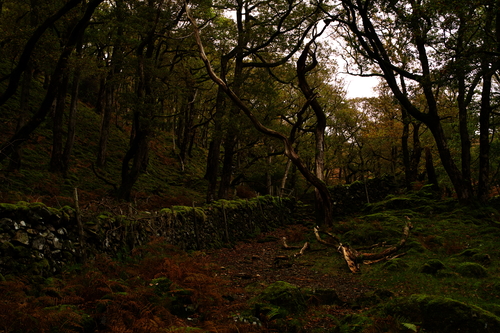
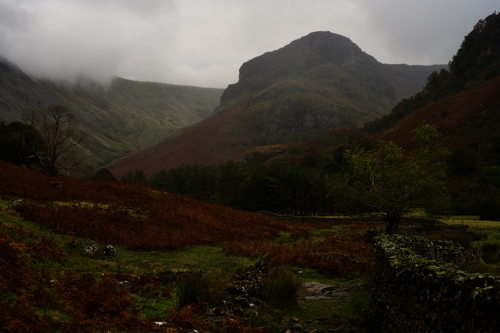
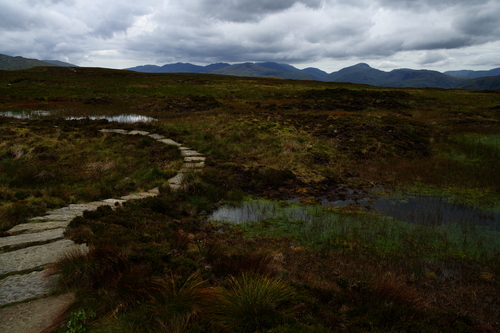
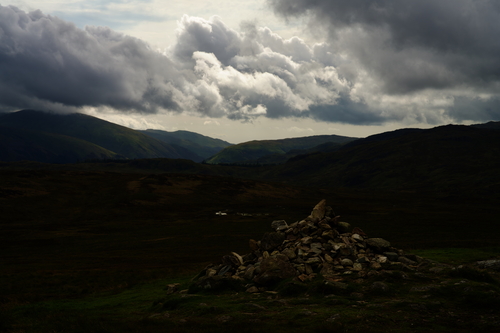
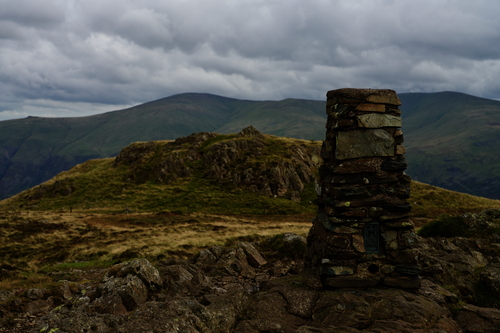
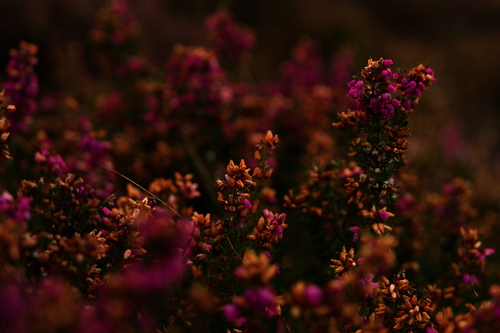
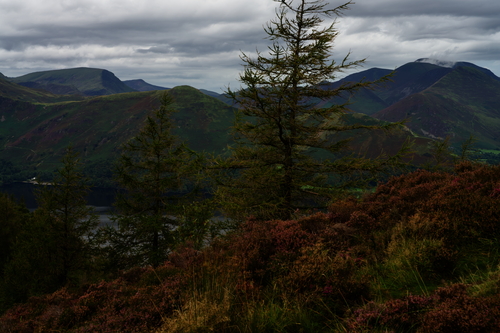
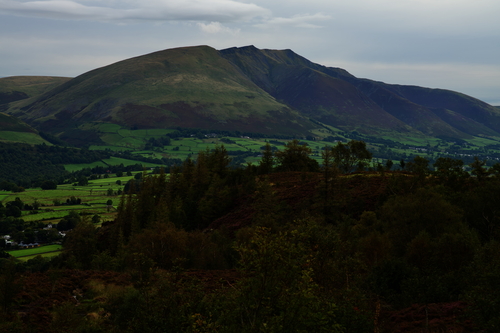
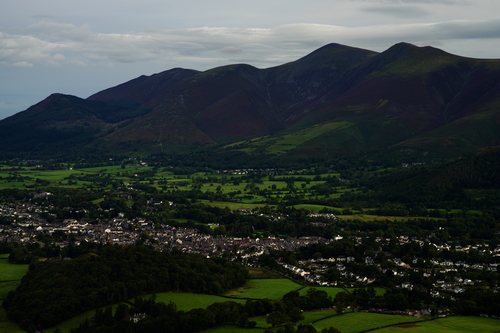
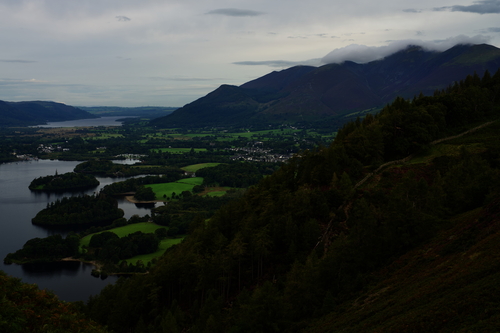
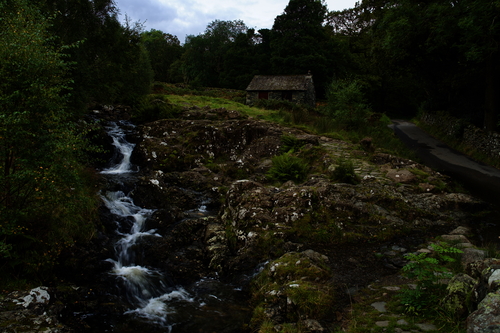
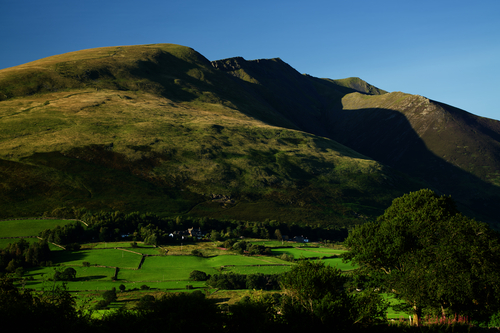
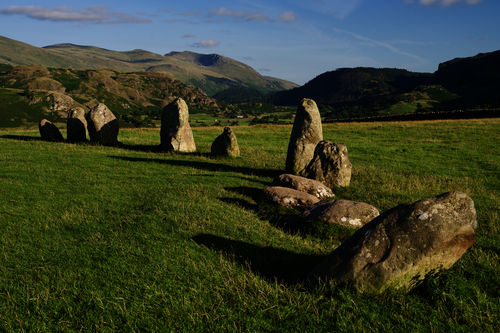
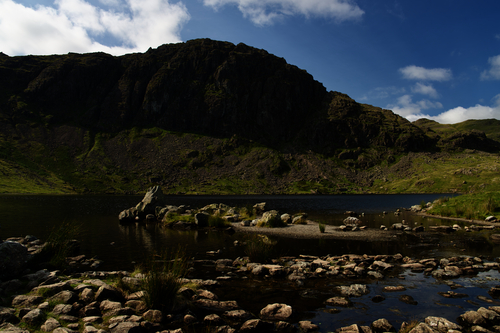
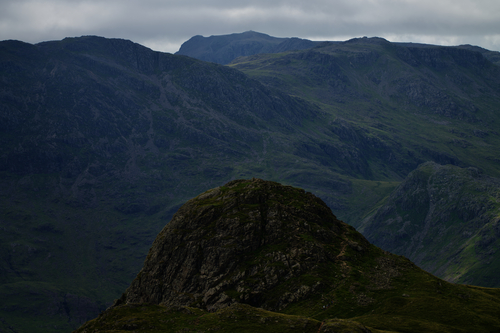
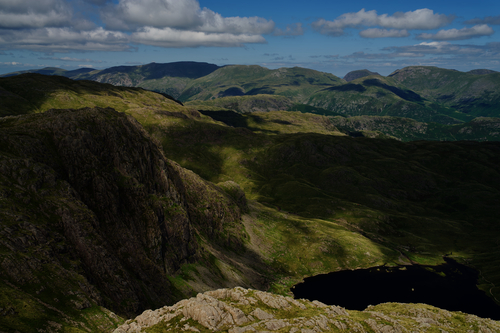
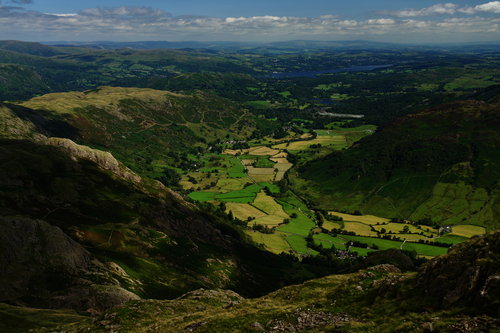
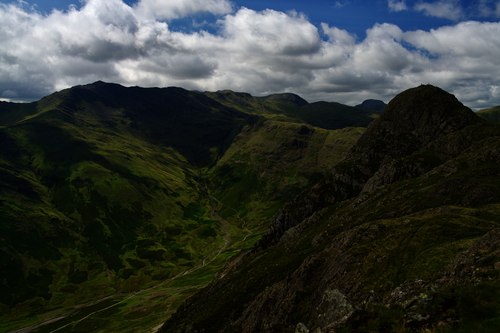
Location: Central Fells

129 Photos / 6 Pages

Heather on Walla CragDerwent Fells from Walla CragBlencathra from Walla CragKeswick and Skiddaw from Walla CragDerwent Water from Falcon CragBarroweckAshness BridgeBlencathra From Castlerigg Stone CircleCastlerigg Stone Circle to HelvellynStickle Tarn and Pavey ArkPike O'Stickle From Harrison SticklePavey Ark and Stickle TarnGreat Langdale From Loft CragBow Fell and Pike O'StickleMartcrag MoorMickledenClimbers on Loft CragLoft Crag From Pike O'StickleHarrison Stickle From Pike O'StickleStickle Tarn and Harrison StickleStickle TarnJack's Rake From Stickle TarnEasy Gully From Stickle TarnPavey Ark Wall